Configuring Kiosks

Within the System module, you can add a kiosk, which enables you to set up a computer station that allows for data entry from an unmanned computer. This computer station does not require a secured user to initiate the Kiosk. When the kiosk is launched, only kiosk functions can be performed from this computer, which allows users to bypass signing in to the system. No additional security is needed to run a kiosk.

Before you begin

  • You must determine the IP address of the computer used for the kiosk.

    • If you are an ISCorp customer, and you wish to use a local IP address for your kiosk, your organization's network administrator must use static Network Address Translation (NAT) mapping on your network. Map the kiosk machines' local IP addresses to a public IP address that is not used by other devices. That public IP address is the one you will use when configuring the kiosk in Skyward.

  1. Select Menu > Administrative Access > System.
  2. Select Kiosk under Features.
    Expected Result

    You see the Kiosk List.

  3. Click Add Kiosk near the top right of the screen.
    Expected Result

    You see the Add Kiosk screen.

  4. Complete the appropriate fields.
    Step Information

    Required fields are identified with an asterisk. You must complete required fields before you can save your work.

    1. Enter the Name of the Kiosk you wish to add.
      Step Information

      For example, you could enter East Entry Computer.

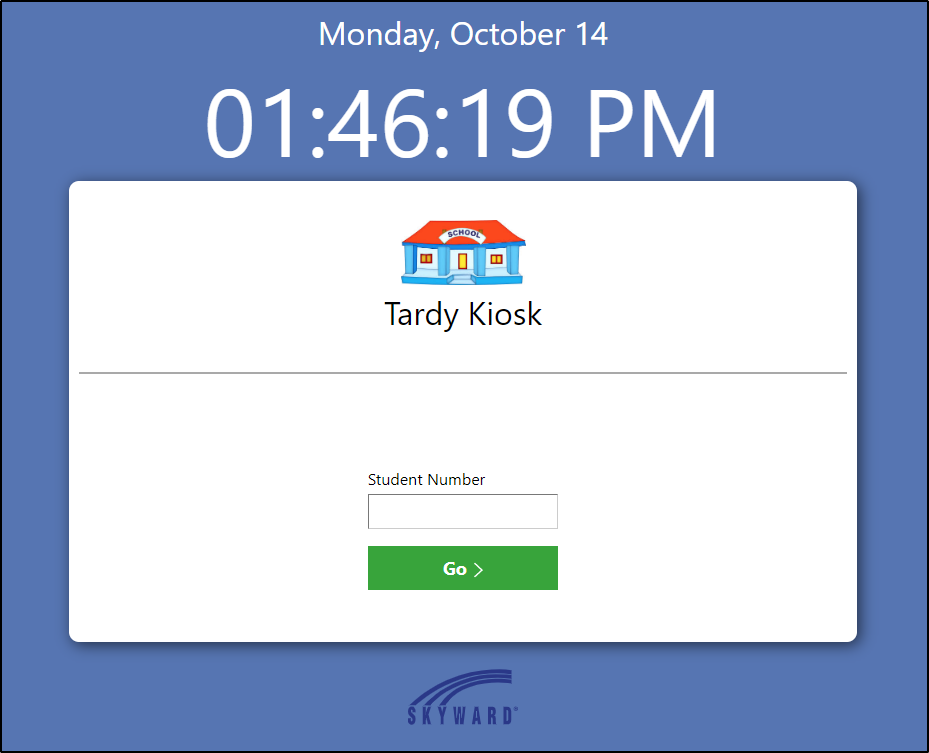
    2. Enter the IP Address of the computer that will be used for this kiosk.
      Step Information

      If you identify a computer by its IP address as a kiosk, the system will use the IP address to validate that computer's security access to run a kiosk, such as a tardy kiosk. This enables you to launch the kiosk directly from the login screen without needing to enter a username and password.

      In the image below, the Tardy Kiosk login screen displays after the Go to Kiosk System option is selected on the sign in page for a computer that has the IP address entered on the Kiosk Details screen of the System module.


    3. Check the box for Health Office Visit Kiosk if appropriate.
      Step Information

      You would check this box if the IP address should be able to use the health office visit kiosk to add students to the health office visit queue.

    4. Check the box for Tardy Kiosk if appropriate.
      Step Information

      You would check this box if the IP address should be able to use the tardy kiosk to record student attendance.

      Expected Result

      When checked, the Printer Type field displays. Continue to the next sub-step.

      If you did not check this box, skip to step 5.

    5. Select the appropriate radio button for the Printer Type.
      Step Information

      The printer you select should match the type of printer that is used for the kiosk.

      For example, if a receipt-style printer is connected to the computer that is used as a tardy kiosk, you would select Narrow for a student to receive a copy of the hall pass generated. If a printer using 8.5" x 11" paper is connected to the computer that is used as a tardy kiosk, you would select Wide for a student to receive a copy of the hall pass generated.

  5. Choose one of the options near the top left of the screen to save your work.
    OptionDescription
    Save & Add Another Saves the information you entered and refreshes the Add Kiosk screen so you can add another.
    Save Saves the information you entered and you return to the Kiosk List, where the kiosk you created displays.